
Cut the Hole
Mark a regulation 6" hole, tape the cut, and saw it clean—hole saw for speed, or jigsaw + router for a factory edge.
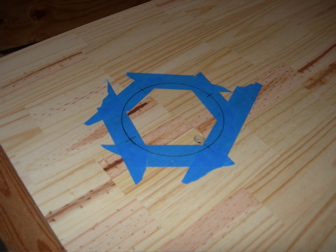
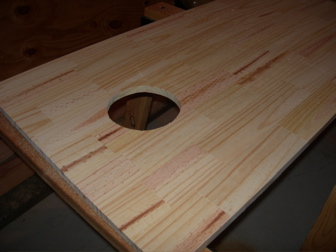
You’re building regulation cornhole boards, not a weird custom oval that starts arguments at the tailgate. Official hole size is 6 inches across.
Mark it right
Center the hole left-to-right on your 24“ board. The center of the hole sits 9“ down from the top edge (that’s the same as putting the top of the hole 6“ from the top edge—do the math once, then trust the mark).
Tape before you cut
Wrap painter’s tape around the circle. Pine loves to chip; tape is the lazy genius move that keeps the edge clean.
Cut it (easy button)
A 6“ hole saw is the fast path. No hole saw? Jigsaw works—go slow, stay on the line, then sand the edge so bags don’t catch. Don’t turn the hole into a potato shape. Your beer-league friends will notice.
Upgrade: factory-clean hole edge
Want an edge that looks store-bought? Do it in two passes:
- Drill a small pilot hole and rough-cut with a jigsaw just inside the line.
- Clamp a circular template / circle jig over the opening and finish with a router + flush-trim bit.
A circle-cutting jig (Jasper-style or similar) is the affordable accessory people reach for here. Slower than a hole saw—cleaner than a hole saw.
Straight panels first
If you’re breaking down plywood sheets before you mark the hole, a track-saw guide keeps the long cuts straight and splinter-light. Crooked panels make every later step feel slightly cursed.